
AVCLabs Video Enhancer AI Tutorial
AVCLabs Video Enhancer AI is an advanced AI-powered video enhancement software that upscales videos from 480p to 1080p, 1080p to 4K, and even up to 8K. It also stabilizes shaky footage for smoother playback and applies intelligent video blurring to enhance privacy or achieve artistic effects. Give your old videos a stunning new look and a second life with cutting-edge AI post-processing.


Warm reminder: The free trial of AVCLabs Video Enhancer AI offers all features, but output videos will include a watermark, and each export is limited to 30 seconds. To enjoy unlimited access and remove these restrictions, we kindly recommend purchasing the full version.
How to Use AVCLabs Video Enhancer AI to Enhance Video Quality?
Launch AVCLabs Video Enhancer AI
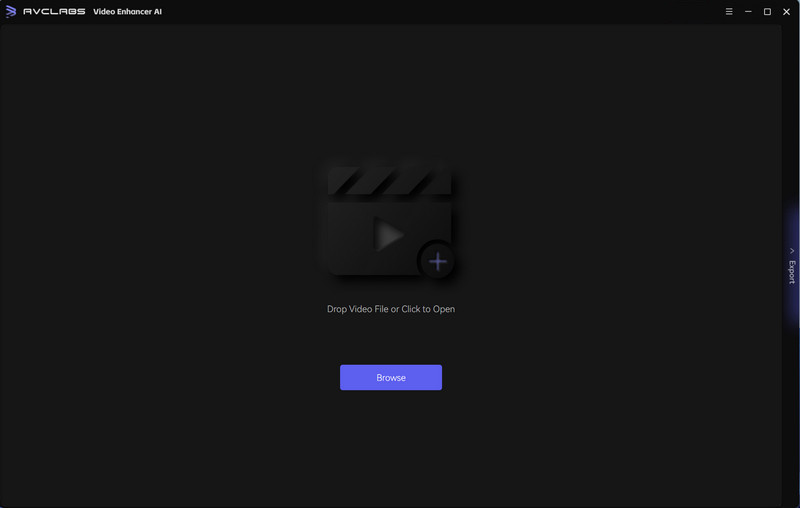
Download the installation package of AVCLabs Video Enhancer AI and install it on your Windows PC or Mac. Launch AVCLabs Video Enhancer AI and you will enter the main window of AVCLabs Video Enhancer AI shown as below.
Import Video
Click on the Video Enhancer AI button in the left of the application. Click to open a file pop-up window and select one or multiple video files. You can also drag and drop videos to the program.
Select Presets and AI Features
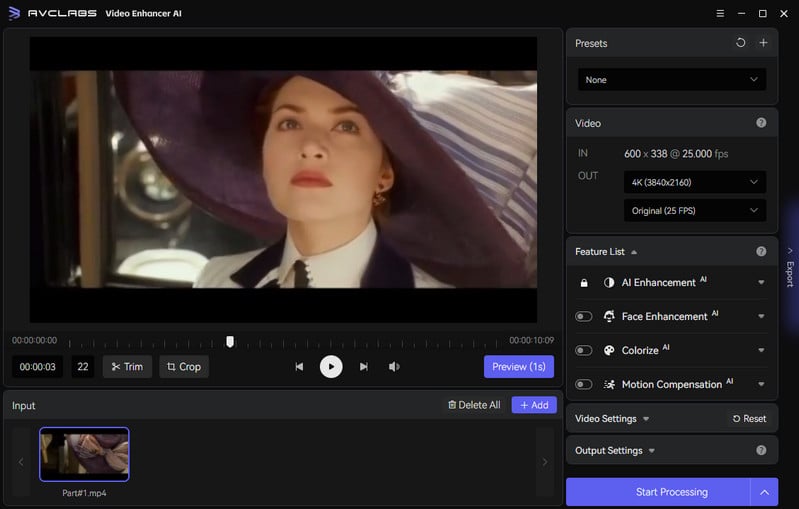
On the right panel, you are allowed to select an AI model, and set output resolution and FPS.
The Presets offers eight pre-configured options that you can use directly.
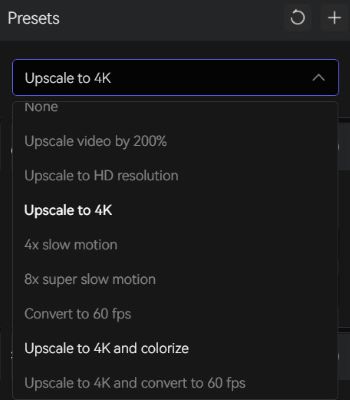
When there is no Preset you want, you can set Presets to None and select the AI features according to your needs. There are 5 AI features available: AI Enhancement, Face Enhancement, Colorize, Motion Compensation, and SDR to HDR.
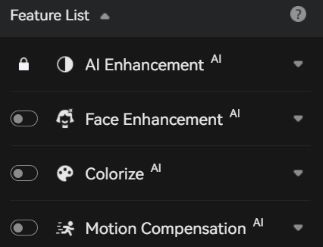
6 AI models and a Detail Balance parameter are available under AI Enhancement: Standard, Ultra, Anime, Standard (Multi-Frame), Ultra (Multi-Frame), and Denoise.
*Note: The models Standard (Multi-Frame) and Ultra (Multi-Frame) are only available for the Windows version.
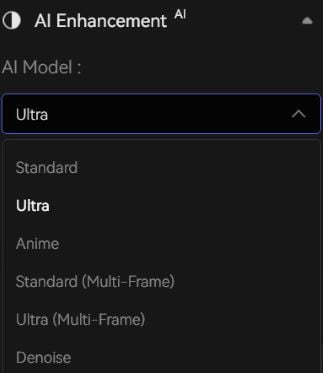
*Note: Enabling multiple features simultaneously will make the processing speed exceedingly slow. To avoid this problem occur, activate only the necessary features.
Configure Other Settings
After configuring the AI features, you have the option to adjust other settings according to your preferences.
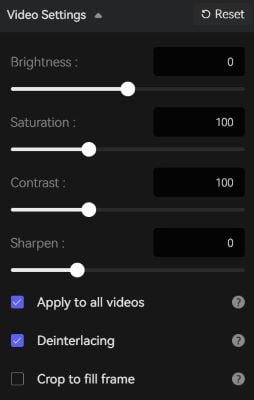
Video Settings: you can manually adjust the brightness, saturation, contrast, sharpness, and noise of your videos to enhance the visual quality. In addition, there are also options like cropping to fill the frame and deinterlacing.
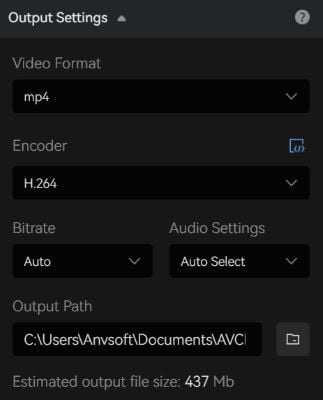
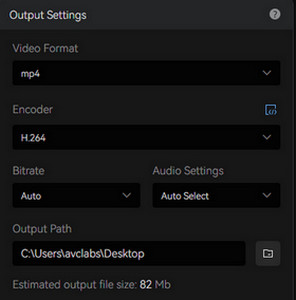
Output Settings: the section where you can set the output video format (MKV, MP4, AVI, MOV, WEBM), the encoder (H.264, H.265, VP9 Good, VP9 Best, AV1), the bitrate, audio settings, and output path.
Trim the Output Video
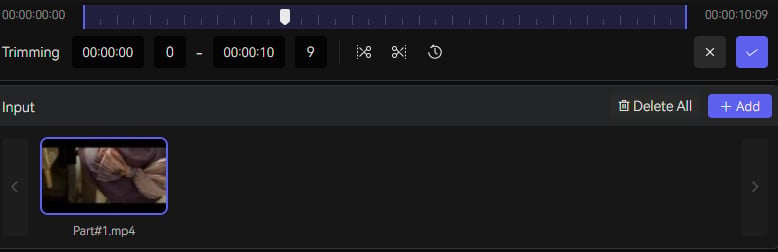
Before processing the video, you can trim the unwanted part frame by frame to saving processing time.
Crop the Video
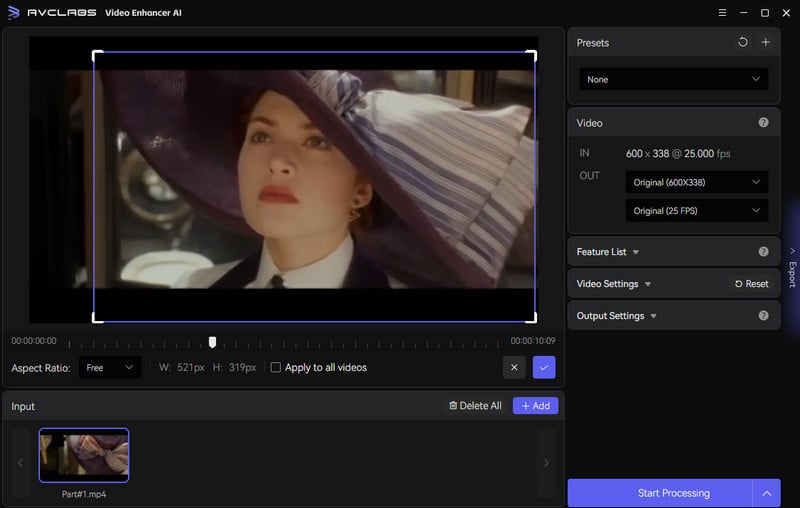
The crop function allows you to cut out a specific portion of a video frame. You can choose to crop to the original aspect ratio, select from presets, or crop freely. You can also move the crop window to select the specific area you want to cut out. The "Apply to all videos" option applies the same crop preference to all videos you added, saving you time and effort.
Start Enhancing Video Quality
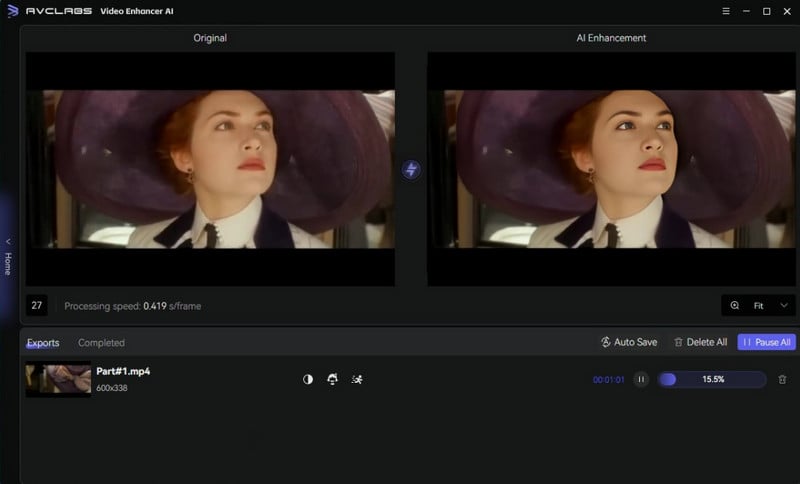
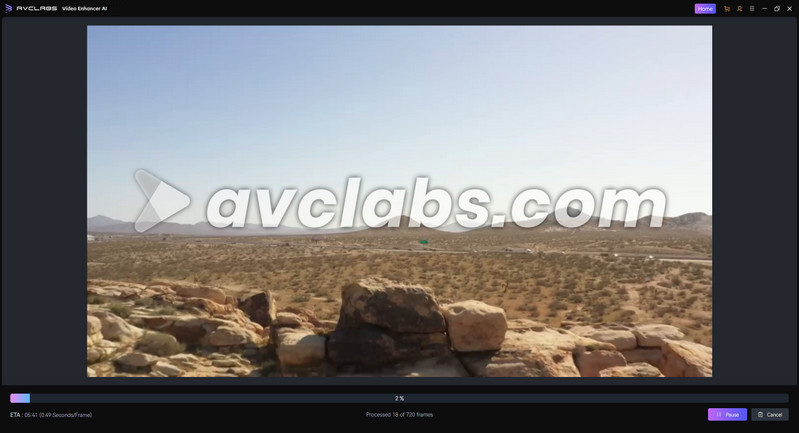
Click the "Export" button to render your video. The program will start processing frames of your source video and assembling the enhanced video. During processing, you can click the Home button on the left of the screen and return to the main interface for adding more videos. After the conversion completed, you can open the file folder to check the output video.
How to Blur Faces, Backgrounds, License Plates and More in Videos?
Import Video
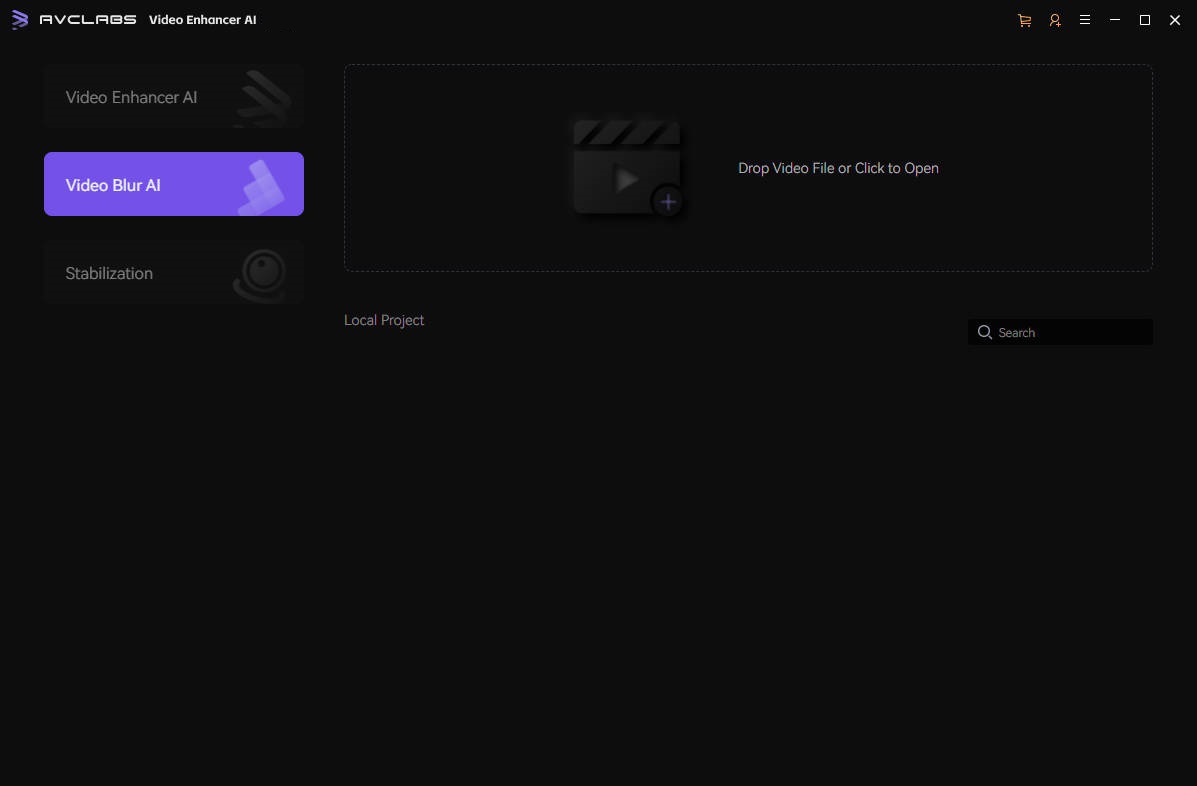
Launch AVCLabs Video Enhancer AI and Click on the Video Blur AI button in the left of the application. Click to open a file pop-up window and select one or multiple video files. You can also drag and drop videos to the program.
Add Blur Tasks
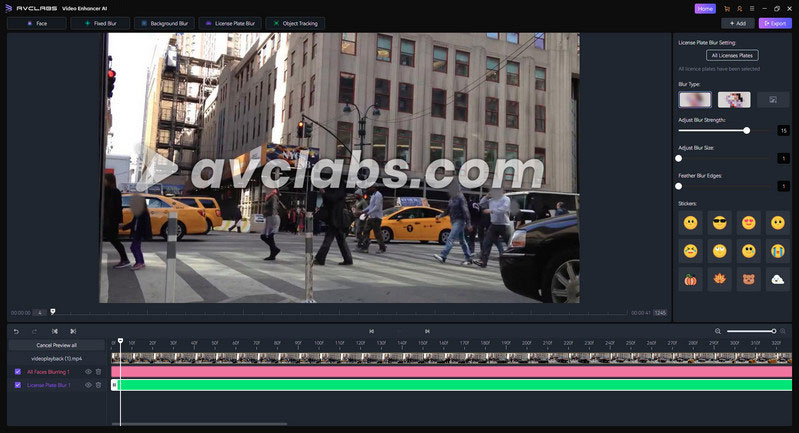
Simply click on the top of the program to select one or multiple blur features. The Video Blur AI feature offers a range of blur features, including Face Blur, Fixed Blur, Background Blur, License Plate Blur, Object Tracking Blur, and Frame-by-Frame Blur.

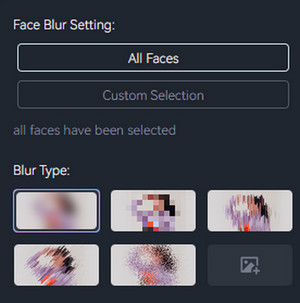
You have the option to choose from 5 different blur types - Mosaic, Standard Blur, Longitudinal Blur, Blique Blur, and Particle Blur. Alternatively, you can also upload a custom image from your desktop.
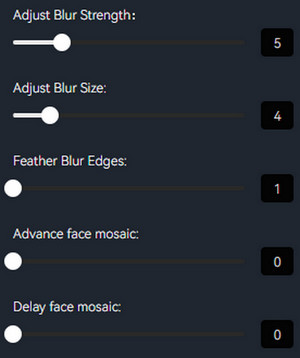
Drag the slider to adjust the blur settings, and preview the effect in real time.
When you add a blur task, the program will automatically enter a preview mode, meaning you can see the blur effect immediately on adding the blur task.
Start Export
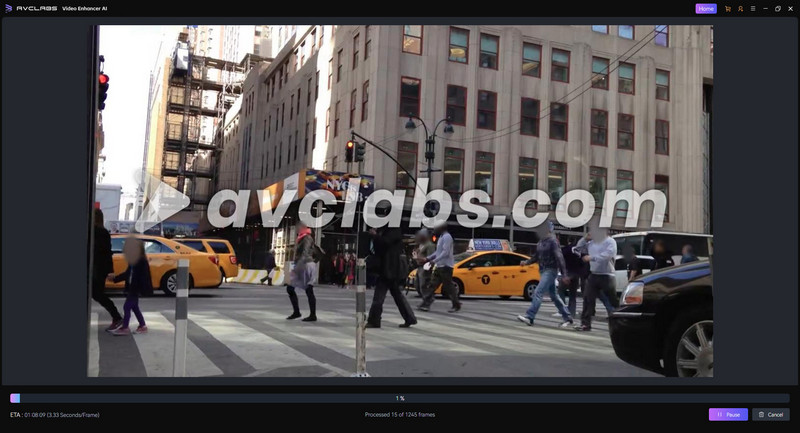
If you are pleased with the applied blur effect, simply click the "Export" button located at the top right corner to start the export process for your video blur project.
How to Remove Objects from Video with AVCLabs Video Enhancer AI?
Import Video
If you want to remove unwanted objects from a video, please select the Video Blur AI feature in AVCLabs Video Enhancer AI and import the video you wish to process.
Select Object Tracking Function
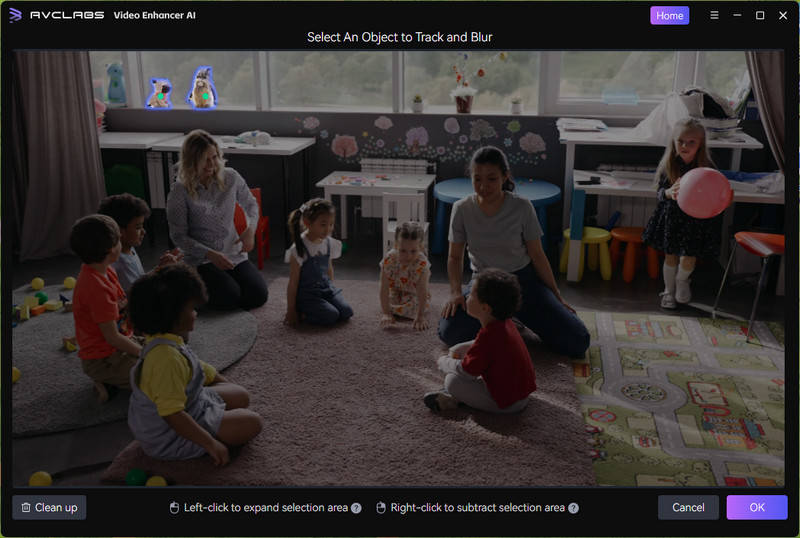
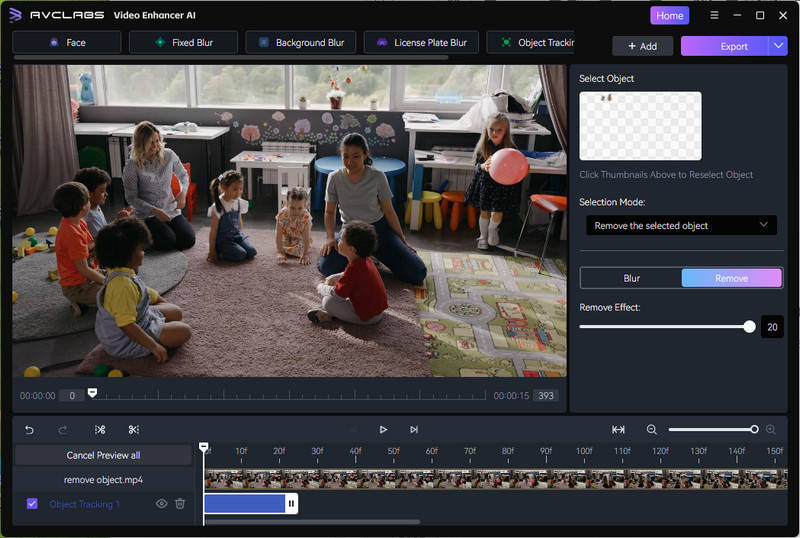
Select "Object Tracking" from the function options in the interface. Then, select the object you wish to remove from the image and click the "OK" button to confirm..
Remove Objects from Video
Switch the Blur option to "Remove." Under Selection Mode, choose "Remove the selected object" or "Remove the unselected object," and adjust the remove effect.
Click the "Export" button in the top-right corner to render and export the processed video.
How to Stabilize Shaky Videos with AVCLabs Video Enhancer AI?
Import Video
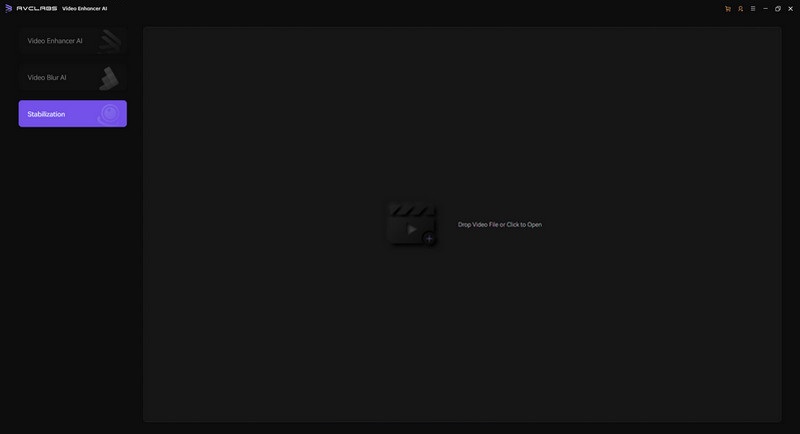
Click on the Stabilization button on the left. Then you can import videos by dragging and dropping it into AVCLabs Video Enhancer AI, or by clicking the tool area on the right to browse local files.
Choose Output Settings
Select the output settings of the video, including video format, video encoder, video bitrate, audio settings, and output path.
Preview Video
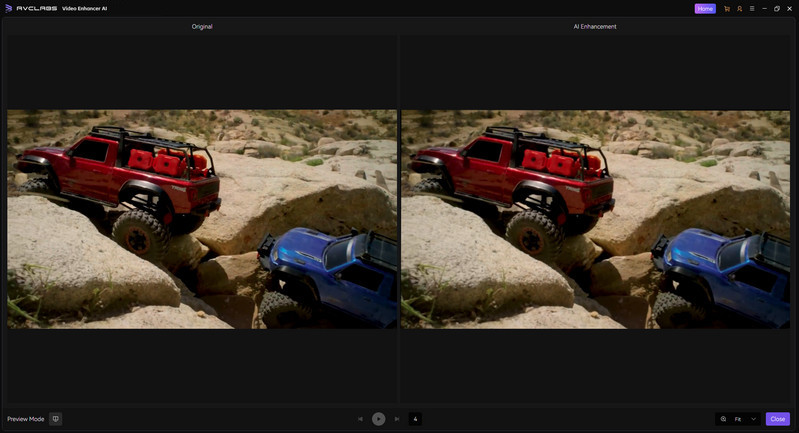
Click the Preview button to see the effect of the pre-processing.
Start Processing Video
If you are satisfied with the processing results, you can directly click the 'Export' button in the lower right corner to start exporting the video.
 Hot Products
Hero Products
New Products
Highly Recommended

AVCLabs Video Blur AI
Video blur and face blur app to blur background, faces or any part of a video.
View Details FAQ
